How to Make a Mandala Grid
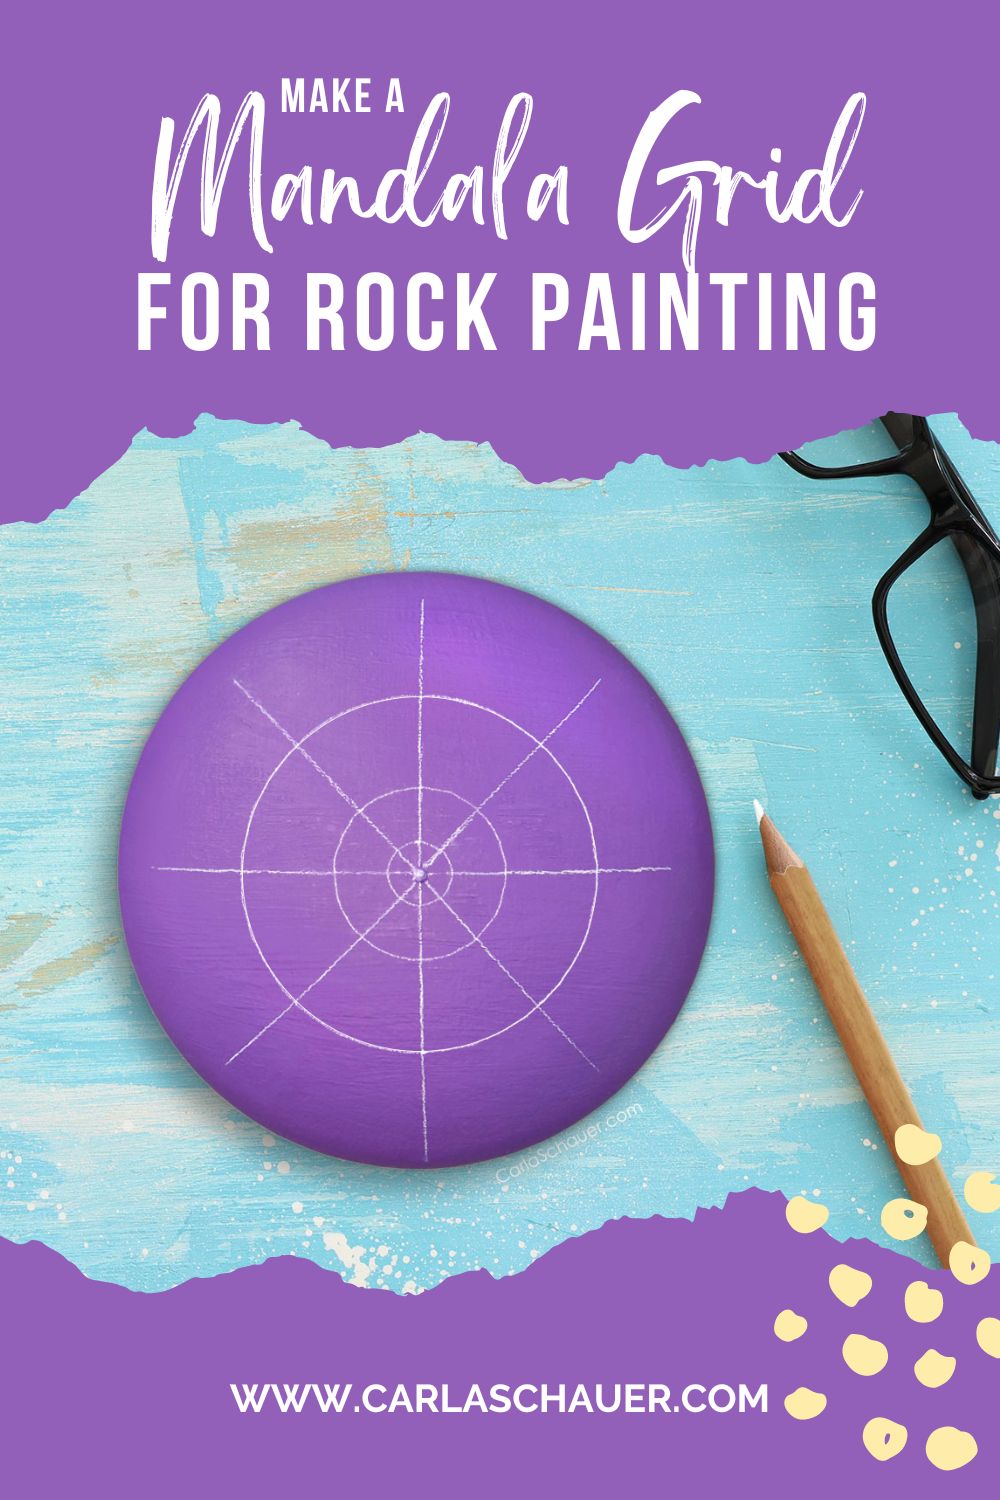
When you’re painting a mandala, a grid is the most helpful prep work you can do. It helps keep your design symmetrical as you’re building your art from the center. Here’s how to make a mandala grid.
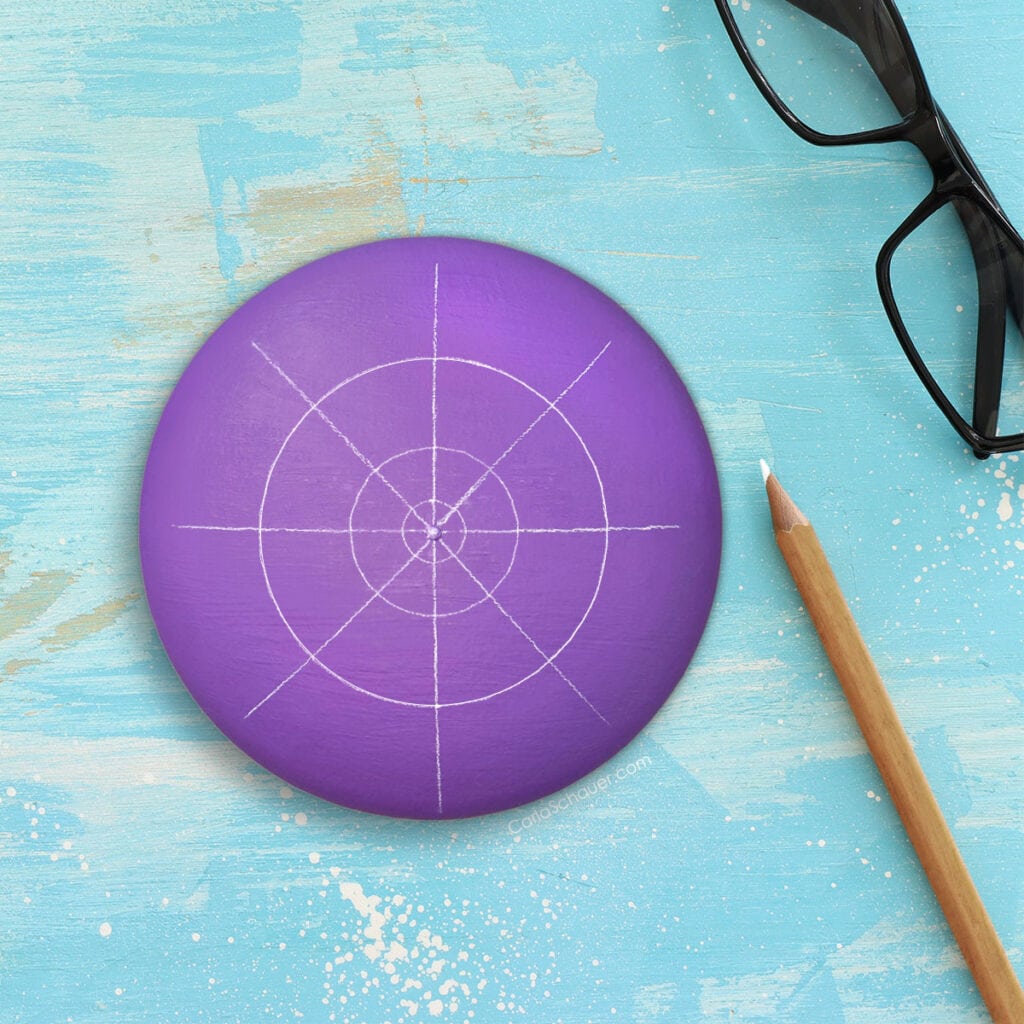
I’ve been painting mandala rocks for years, including a whole book full of designs, and I always draw a grid before I begin. It’s the easiest way keep your mandala from going wonky.
Once your design becomes asymmetrical, it will become more and more noticeable as you grow your mandala. Use the steps below before you paint a rock mandala, to divide your surface into sections and maintain even spacing.
How To Draw a Mandala Grid
You will need:
- White chalk pencil (or regular graphite pencil)
- Flexible Ruler
- Compass (optional, for circles)
This tutorial is an excerpt from my book Mandala Painting Made Simple.

Every mandala has either radial symmetry (rotated around a circle), bilateral symmetry (mirrored on a central axis), or both. Many people find marking a grid on the rock before painting a mandala an easier way to visualize the symmetry and paint balanced circles.
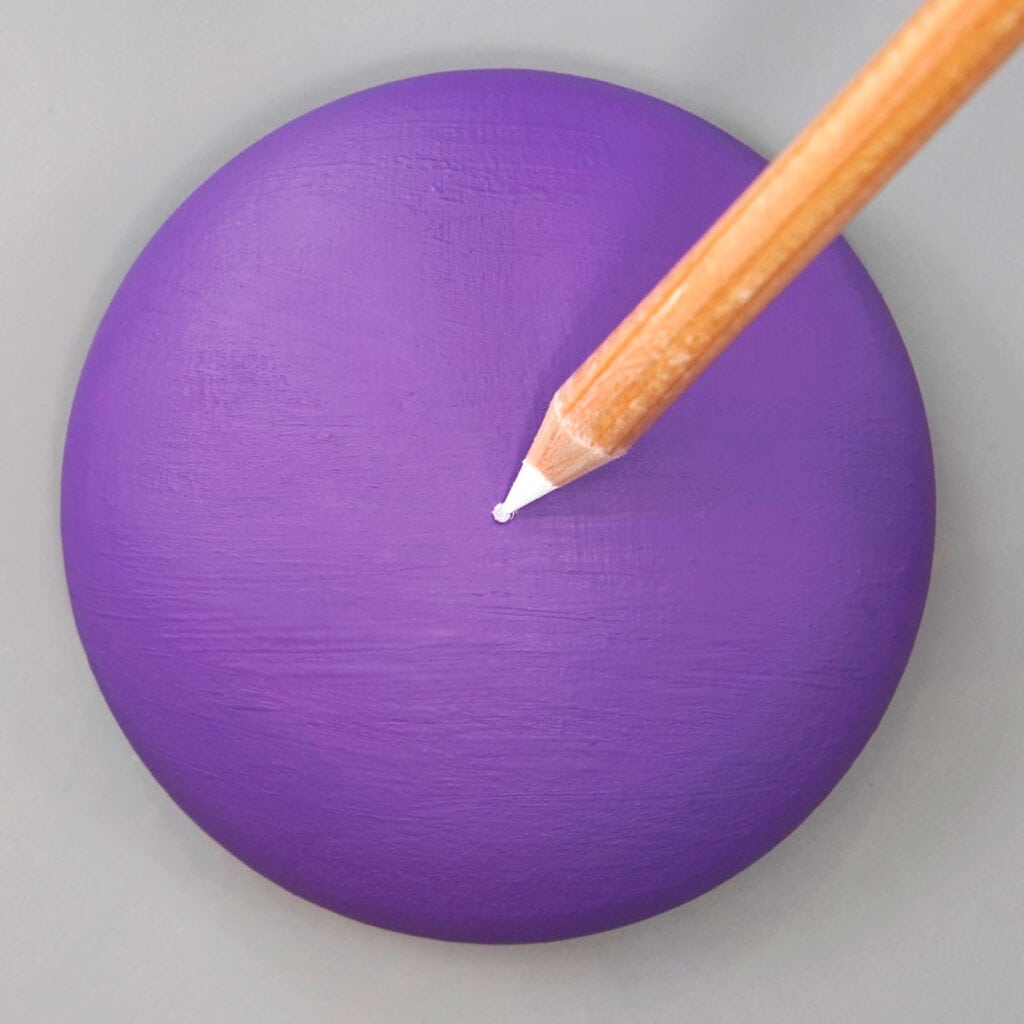
For a basic, eight-section grid, start by finding and marking the center of your stone. In the case of an irregular-shaped stone, mark the place where you’d like your mandala to be centered.
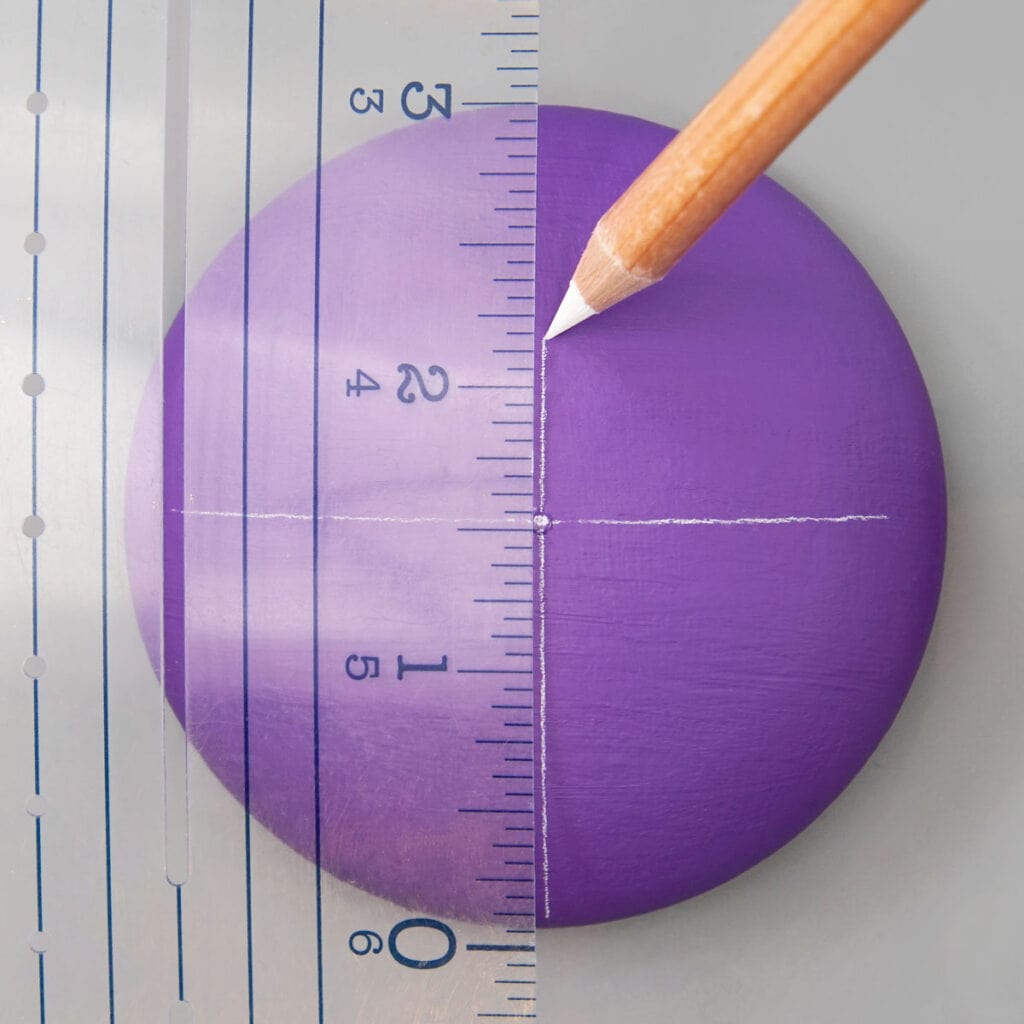
Then divide the stone into 4 sections and very lightly draw one vertical and one horizontal line through your center mark, using your ruler and pencil.
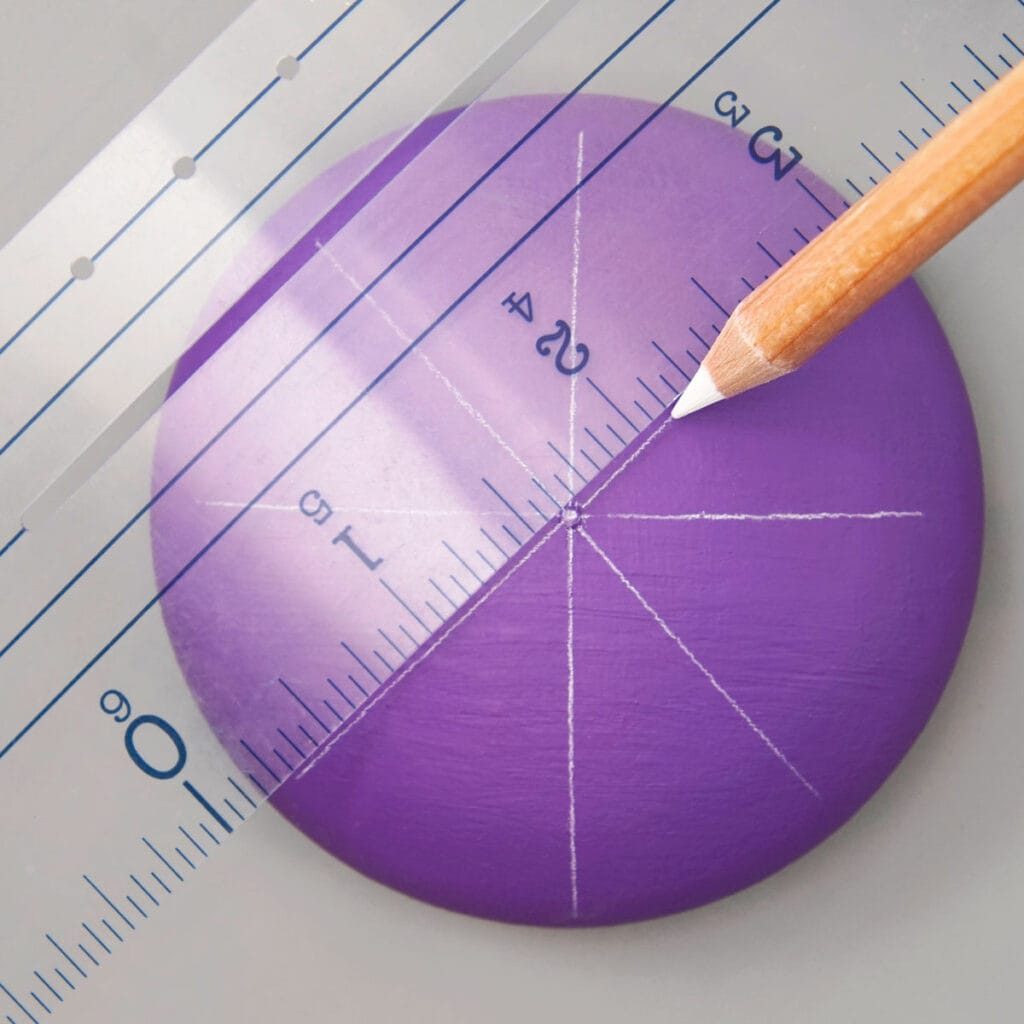
Next, divide the four sections in half with an additional set of lines forming an X through the center point.

Make grids with fewer sections by equally spacing grid lines around the center point instead of the + and X lines.

To mark concentric circles on your rock, using a compass is a simple option. Holding the pointed end in the center of your stone, spin the pencil end around to lightly mark each circle.
If you’d rather stick with only the ruler, measure an equal distance from the center outward on each of the lines you drew, and mark each spot with a tiny dot. Then freehand-sketch curved lines to join the dots and form your circle.
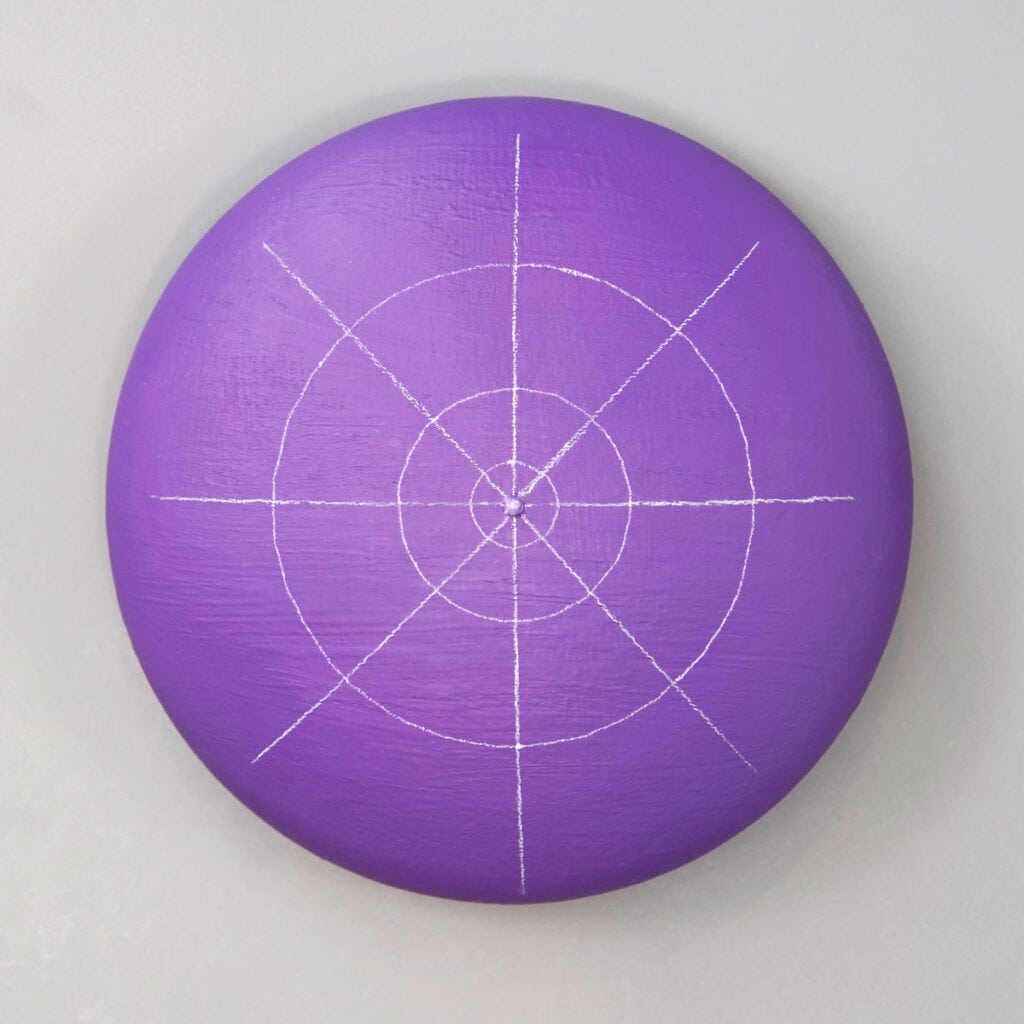
I draw circle grid lines as general guides in a project to help give my design rings the proper shape. Others prefer to draw a circle grid line to mark the location of each ring. You’ll soon learn your preference.
Share these Mandala Grid Instructions with Friends
Your shares are how this site grows, and I am genuinely appreciative when you do. Pin to your favorite Christmas Pinterest board or share this idea to a craft group on Facebook.

Thanks for the tips! How do you then remove the lines when you're done?
If you're using a chalk pencil, a damp cloth will wipe them away. If you're using a standard pencil, I gently use a white eraser. I hope that helps!