How to Make Your Own Temporary Tattoos
Learn how to make your own temporary tattoos at home with your printer, using your own designs or purchased/free downloaded sheets. Apply your DIY temporary tattoos to your face or body, and (temporarily) show your passion for the big game, holiday, or event.

Why Make a “Fake” Tattoo?
Want a face tattoo? OK, maybe not for everyday. But a temporary tattoo for a special occasion is a fun way to show your personality, humor, or fandom.
Of course there are single-day events where fun is the name of the game. And temporary tattoos are always great for kids.
But perhaps you’d like to test a new tattoo design before you make it a permanent addition to your body. Creating a realistic temporary tattoo of your possible image lets you “try on” your tattoo for a few days to see if you’ll like the placement long-term.
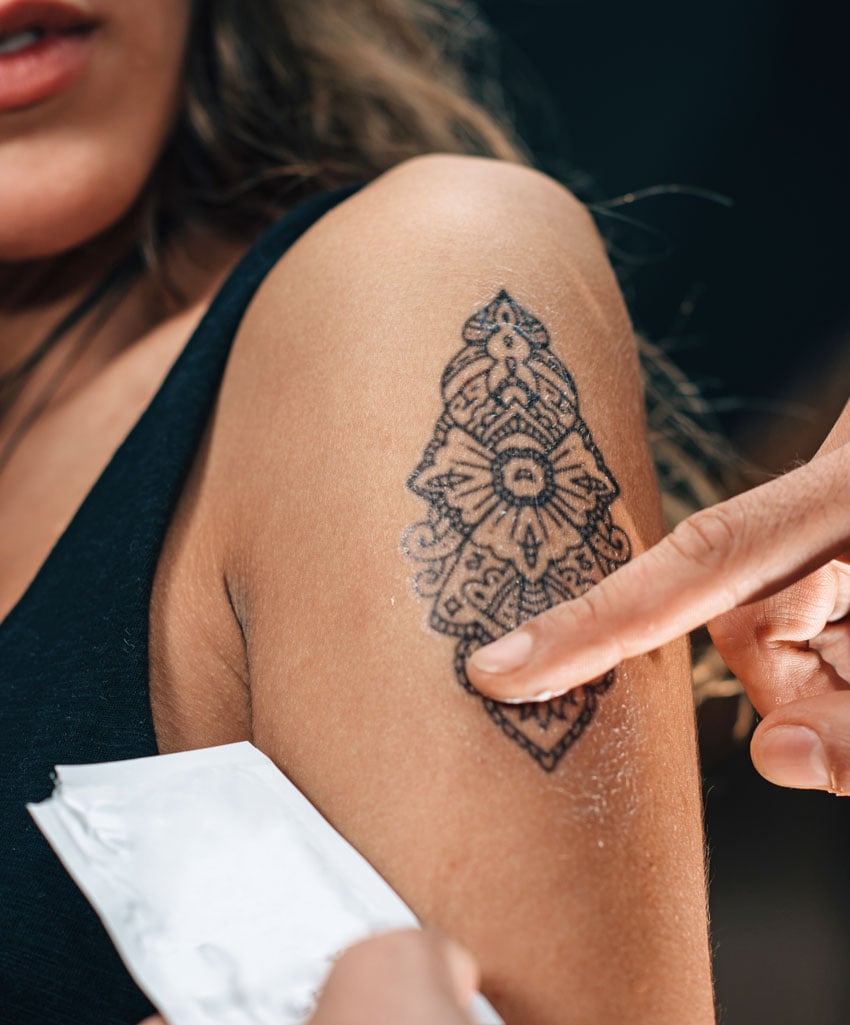
Or, if you’re like me, indecisive and allergic to pain, DIY temporary tattoos give you a no-commitment (pain-free) way to enjoy a custom body art design.
When you make your own temporary tattoos, you can change and customize your tattoo art as much as you like.
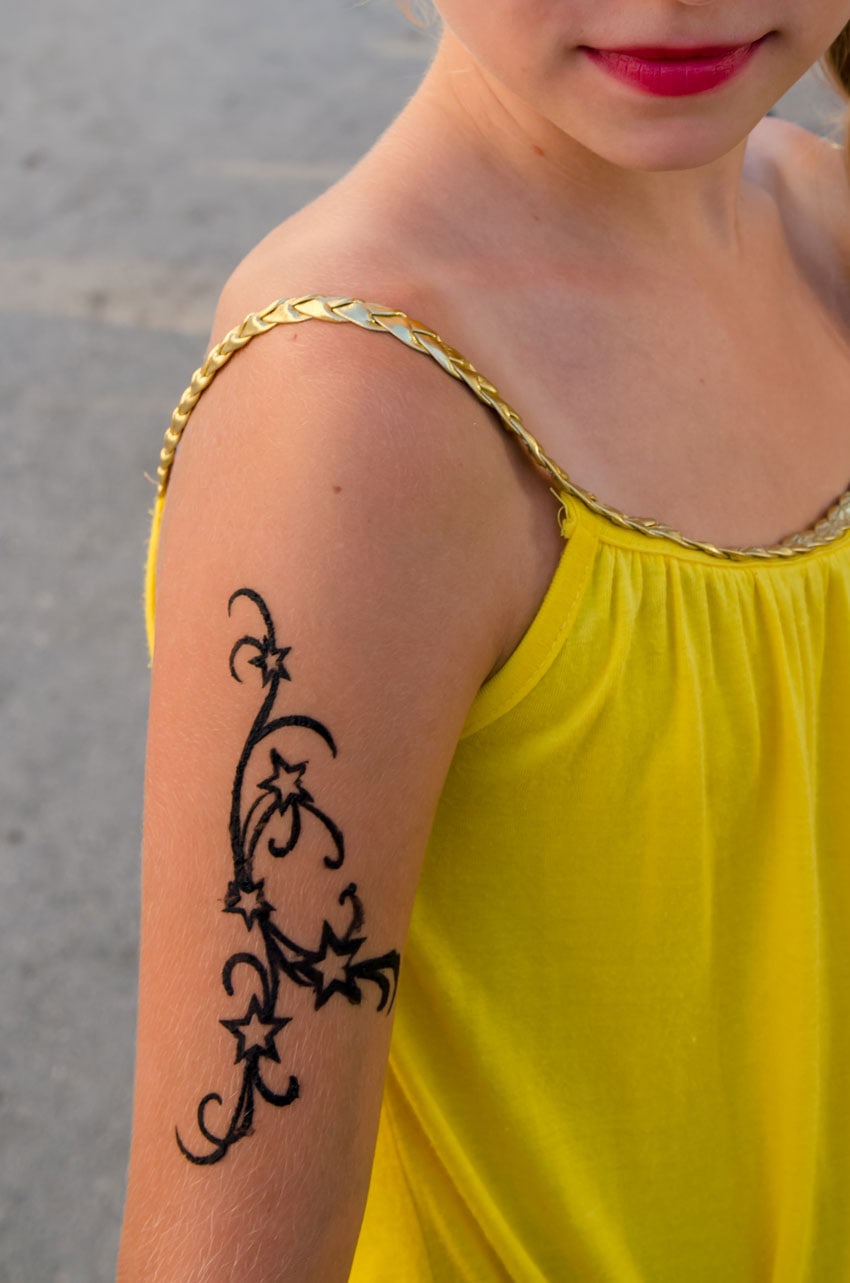
This page may contain affiliate links. If you make a purchase through my link, I will earn a small commission at no extra cost to you.
How To Make Temporary Tattoos with a Printer
To print temporary tattoos at home, you will need Printable Temporary Tattoo Paper and a printer. Make sure to match your paper to your printer type, inkjet or laser.
You’ll also need a computer or other device (with a design program if creating your own images) and a hard straight edge like an old credit card, along with scissors to cut out your tattoos after printing.
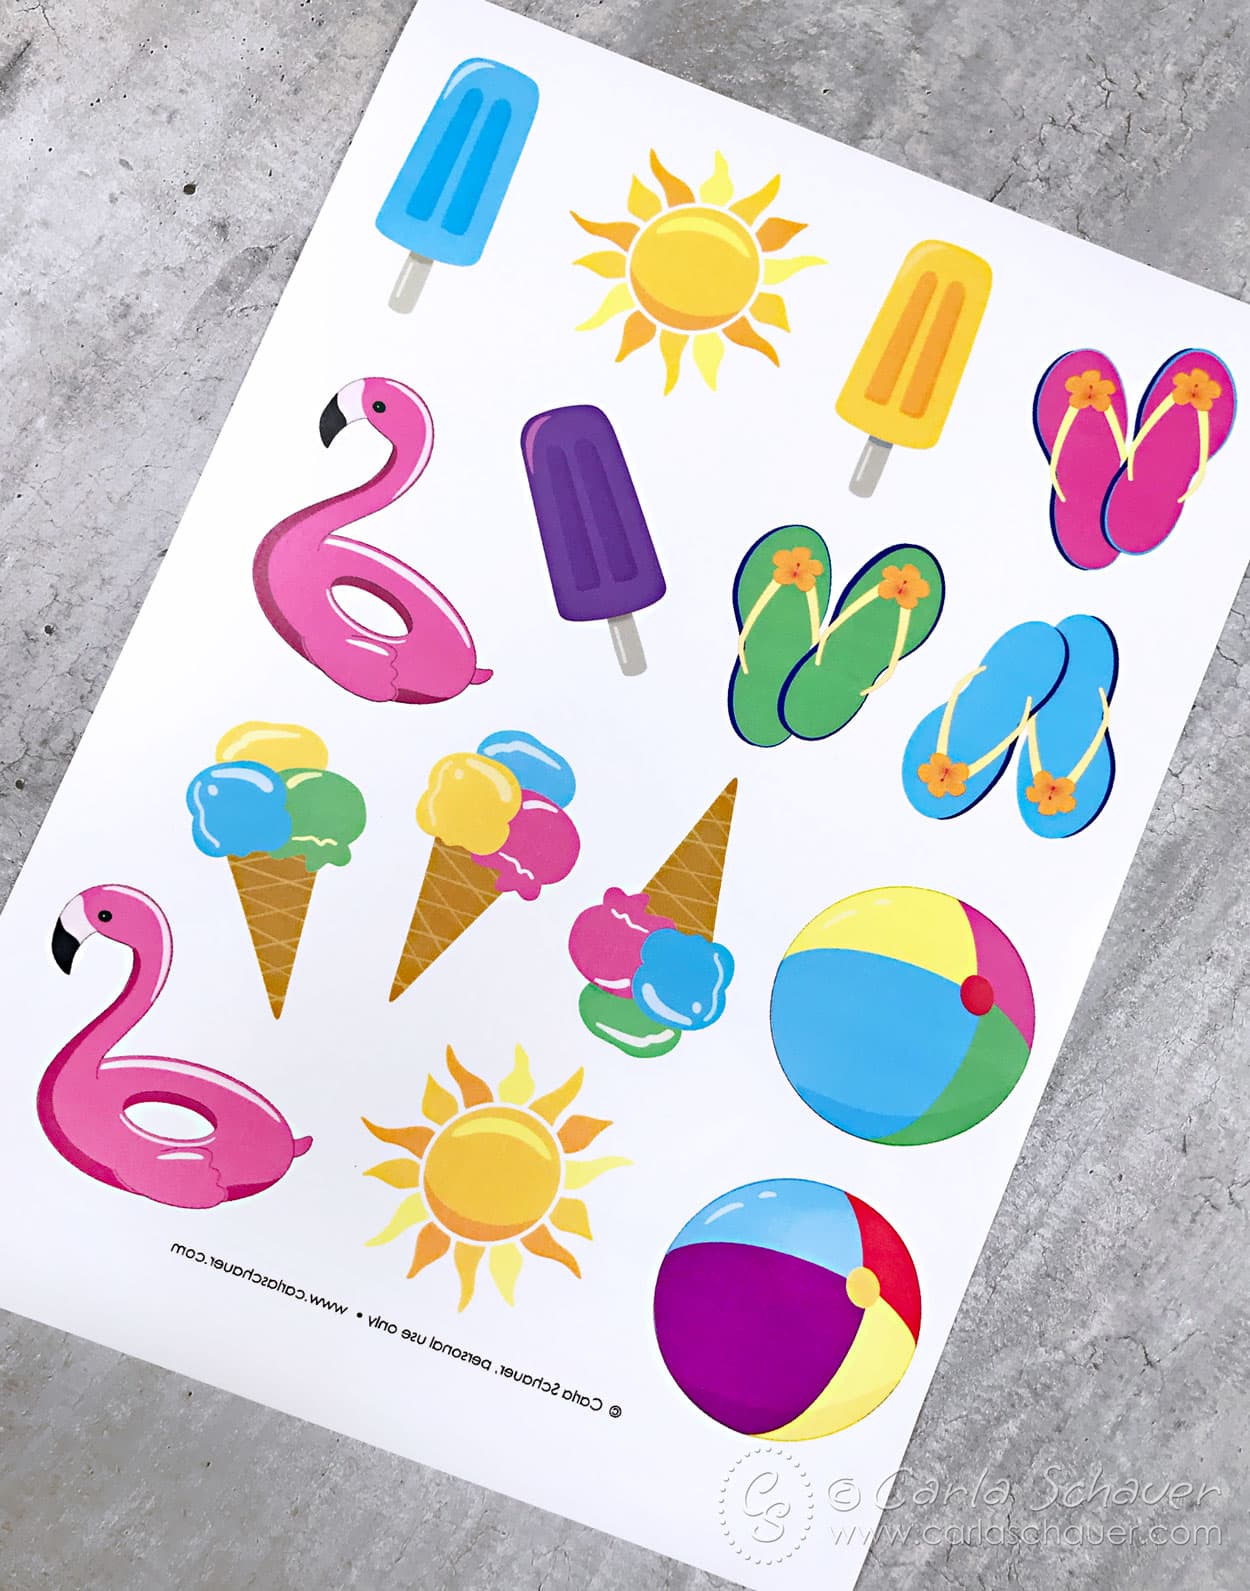
Your DIY temporary tattoo images need to be printed in reverse, so they appear right-side-up on the skin. If your designs aren’t already reversed, you will need to mirror the design sheet before printing.
Finding Tattoo Images:
- You can draw and color your designs by hand and upload them to your computer.
- Use computer design programs like Adobe Photoshop or Illustrator, to draw and color your designs directly on your computer.
- Draw your own custom temporary tattoo designs in an iPad drawing app like Procreate, then upload to your computer or send directly to your printer.
- Download free or paid pre-designed printable temporary tattoo design sheets from a designer.
*friendly reminder – never use designs found online without specific permission from the artist. It’s a copyright violation and in general, just bad internet manners.*
I’ve designed two sets of printable images for you to use for your temporary tattoos.
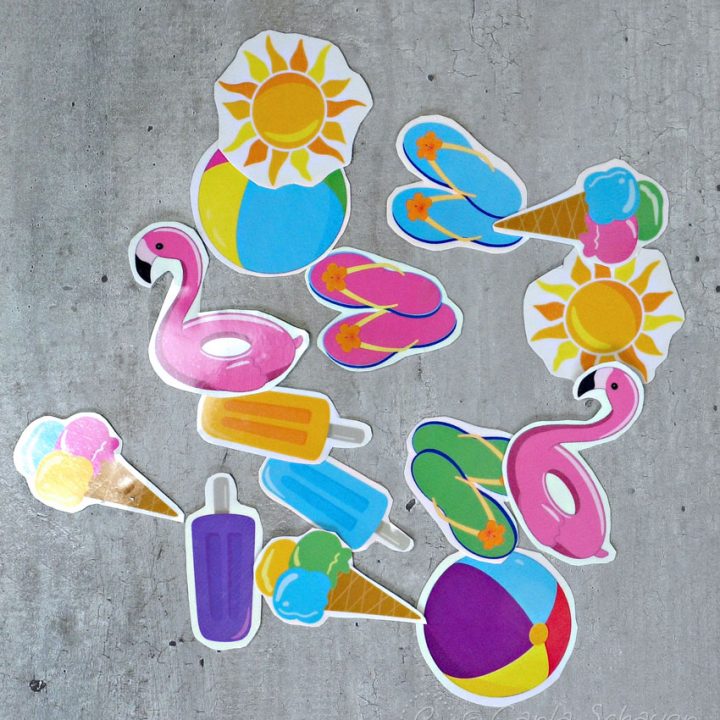
- Summer Temporary Tattoo Sheet (used in the tutorial below)
- PRIDE Temporary Tattoo Sheet
Save this temporary tattoo guide with friends:
Your shares are how this site grows, and I am genuinely appreciative when you do. Pin to your favorite Christmas Pinterest board or share this idea to a craft group on Facebook.
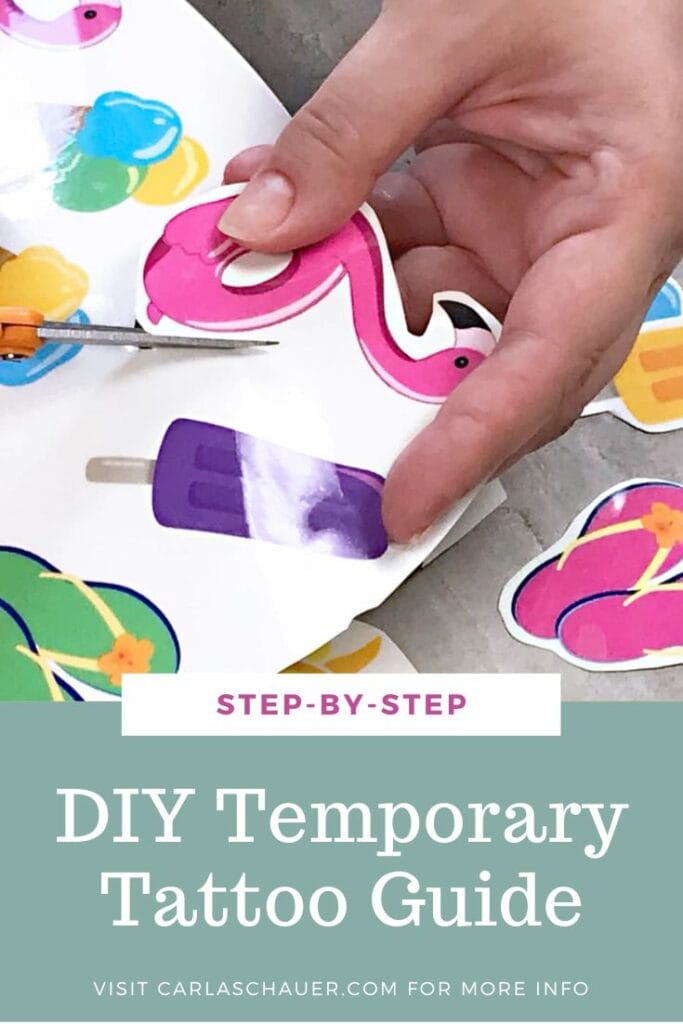
Frequently Asked Questions About DIY Temporary Tattoos
How long do homemade temporary tattoos last?
DIY tattoos printed at home last around 3-5 days.
How do I make temporary tattoos last longer?
Make your temporary tattoos last longer by initially placing your design in a place where it is less likely to be scrubbed or move. For example, apply to the forearm rather than the hand or wrist.
Avoid washing the design, applying any lotions or oil-based products, and using hand sanitizer near your tattoo. Applying a light dusting of powder with a soft brush may also help by absorbing any skin oils.
Are temporary tattoos safe?
According to Scientific American, temporary tattoos are safe to wear. Printer ink and toner are generally considered non-toxic on the skin. You may want to do a small patch test to make sure your skin doesn’t have any allergic reaction.
How can I remove a temporary DIY tattoo design?
Of course a temporary tattoo will start flaking off in a few days. But if you’d like to take it off earlier, use rubbing alcohol on a cotton pad or washcloth to gently rub the tattoo until it’s gone. Then wash the area with soap and water.
Tattoo Instructions:
Save these instructions to your favorites using the button in the how-to below, so you’ll always have them when you’re ready.
How to Make Temporary Tattoos
How to make DIY temporary tattoos using your home printer.
Tools
- Printer
- Computer Design Program (if desired)
- Hard Straight Edge, like credit card or metal ruler
- Scissors
Instructions
To Print Temporary Tattoos
- Create your temporary tattoo design using your favorite computer design program, iPad app, or by hand (upload hand drawn designs to computer).
- Flip your design sheet horizontally, so that all designs and text are backwards. This will allow your designs to display properly when applied. Save your designs as a jpeg or pdf file for printing.

- Change printer settings to "best" quality and "glossy" paper. Print a test page on regular printer paper to make sure designs are printing properly. Print designs onto shiny side of tattoo paper, then set aside to fully dry. Drying will take several minutes.
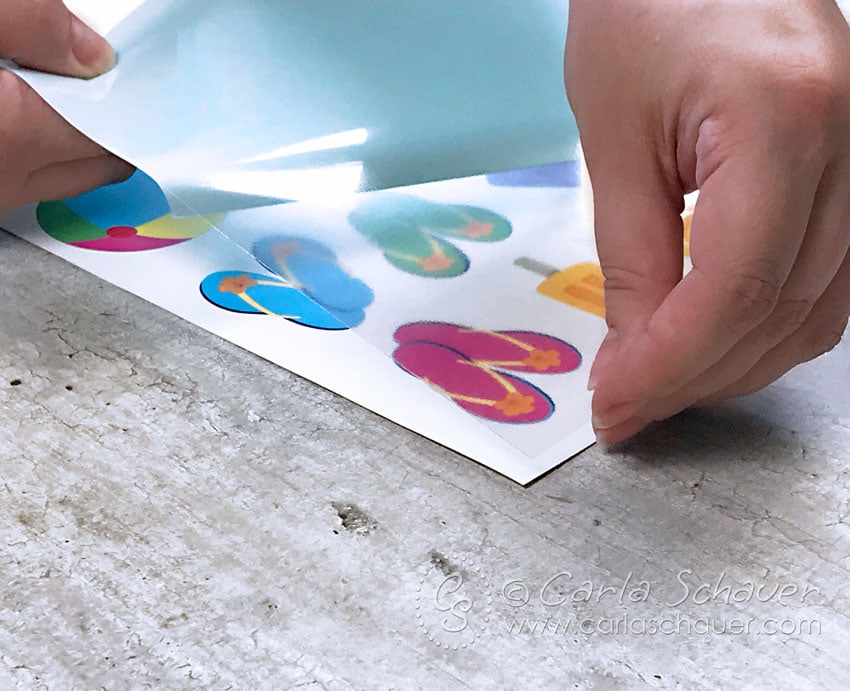
- Starting with a top corner, peel away blue side of adhesive sheet approximately 2 inches. Align with top edge of printed design sheet.

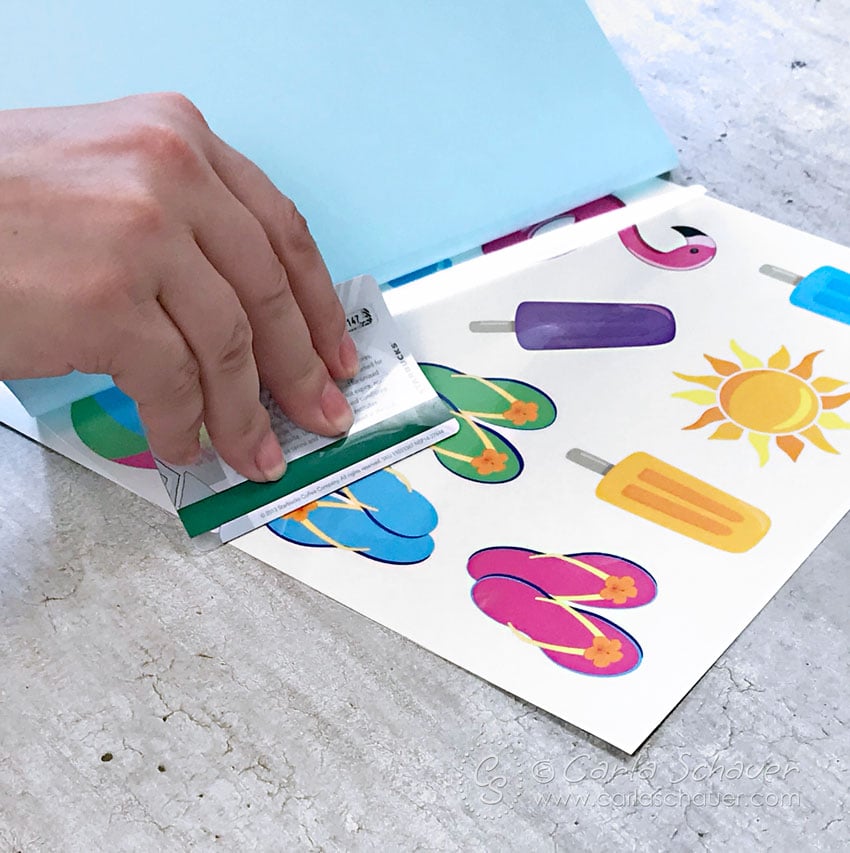
- Continue pulling away adhesive sheet film and applying to printed design, smoothing away air bubbles with the straight edge. Burnish entire sheet again with straight edge to make sure adhesive attaches completely.

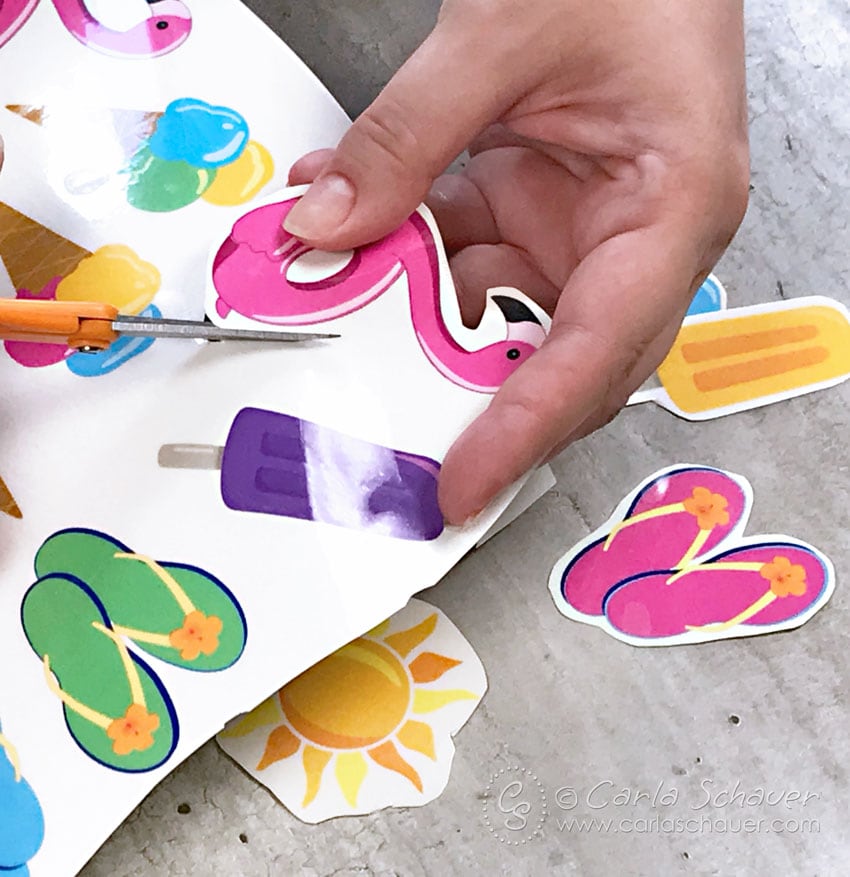
- Cut apart designs with scissors.

To Apply Temporary Tattoos:
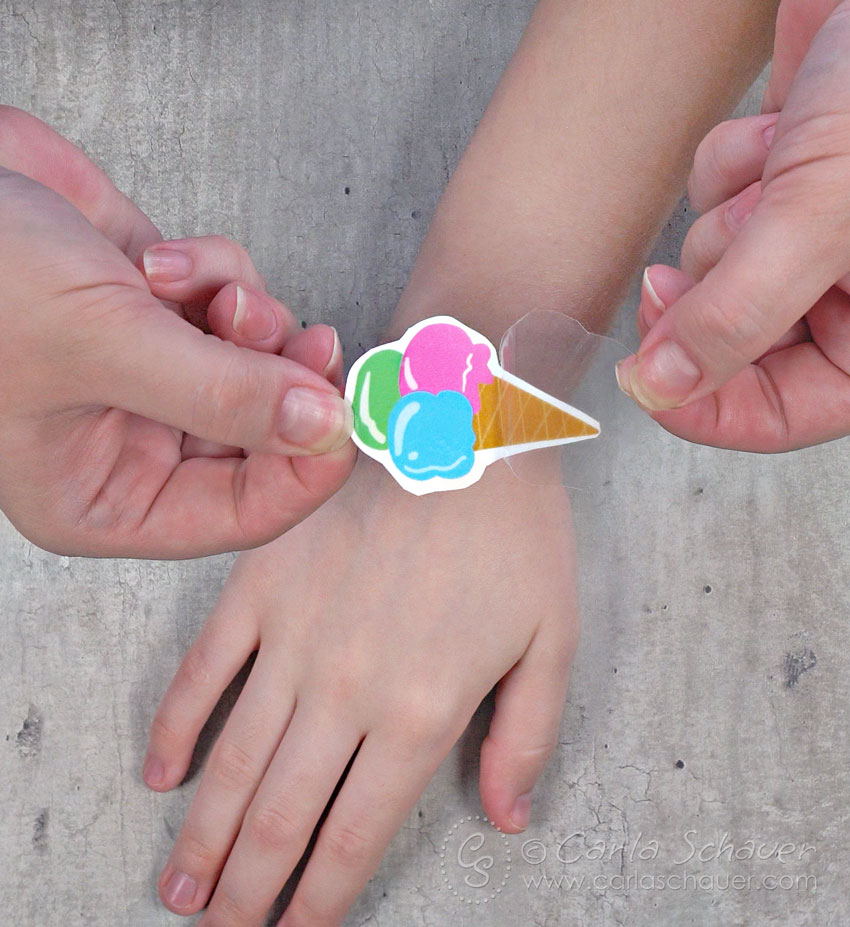
- Peel away the clear backing from the temporary tattoo, exposing the adhesive.

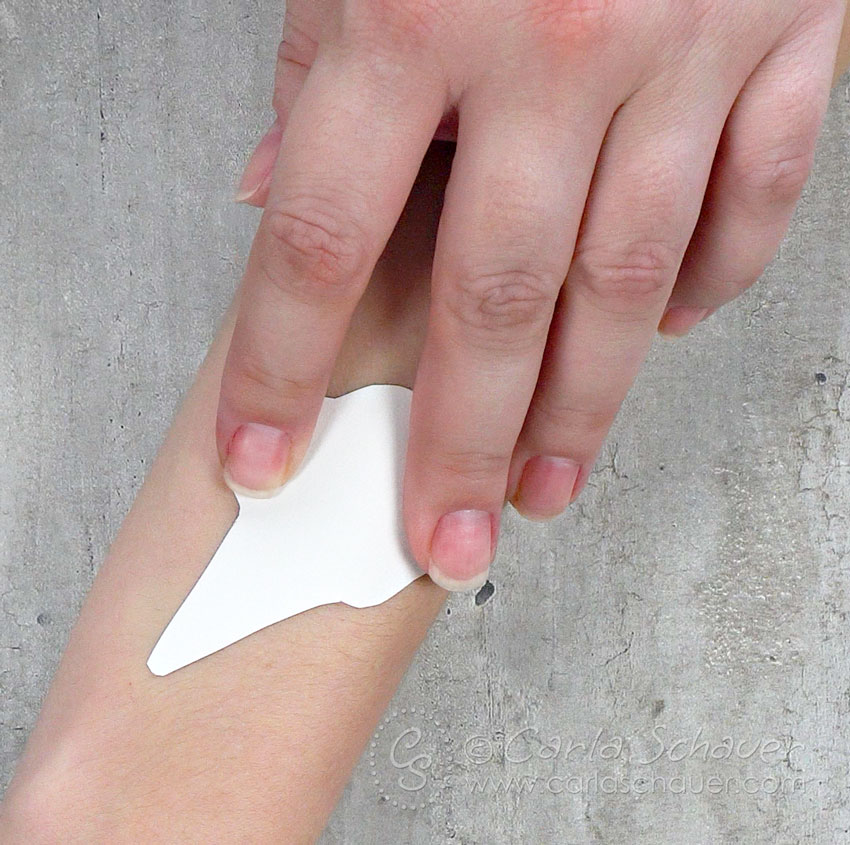
- Place tattoo face down on clean face, arm, or other body part.

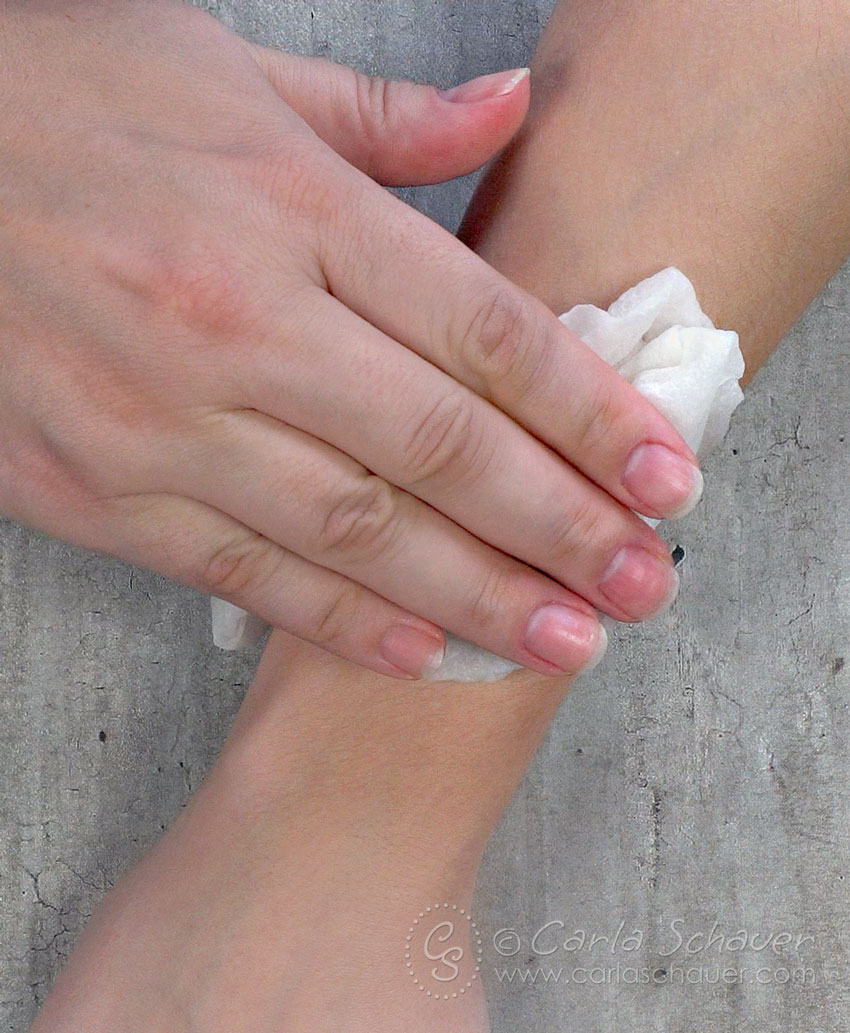
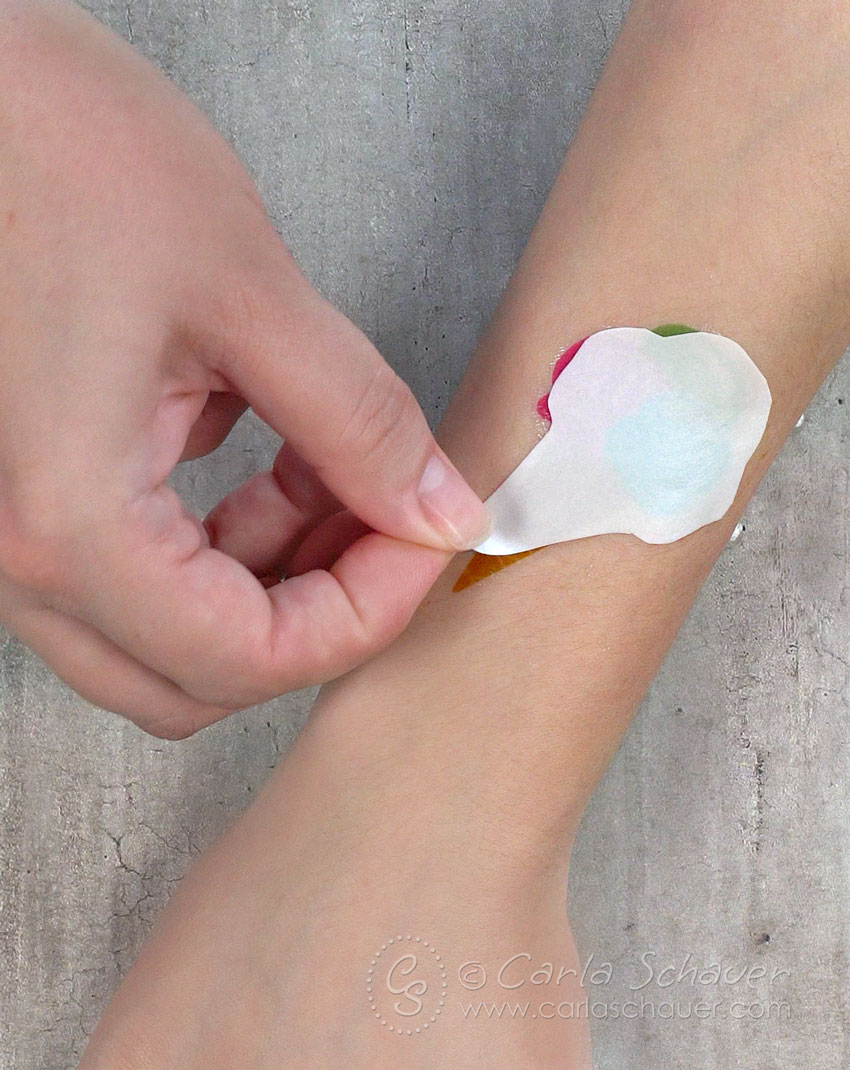
- Hold a damp/wet cloth or paper towel on temporary tattoo and hold in place approximately 30 seconds. Gently lift one corner of white tattoo paper to see if tattoo has released. Continue holding the damp towel if necessary.

- Lift off white tattoo paper, leaving new temporary tattoo design on skin.

Notes
Please use only images that you own or have permission to use for your temporary tattoos.


