Make German Stars for Christmas
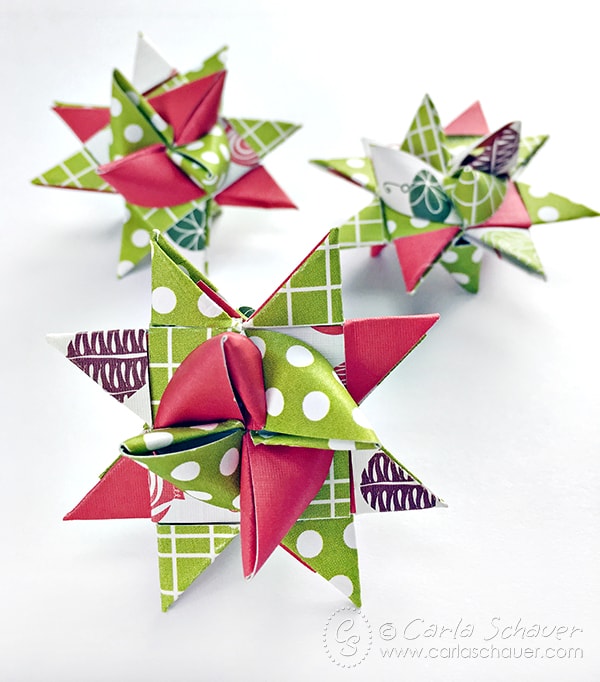
Make traditional German Star Christmas Ornaments using only 4 strips of paper and some simple repeated folds. They’re a pretty Christmas craft you can display on the tree or in a bowl.
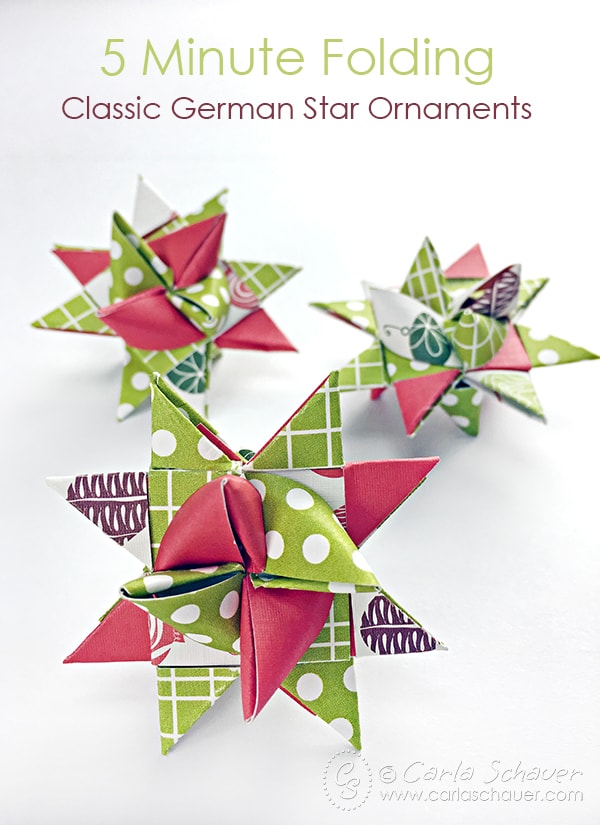
I sipped my hot cocoa and watched their fingers fly, creasing and tucking the paper strips over and around and through, while the Christmas carols played and they chatted. They were making traditional German Star Christmas Ornaments from paper strips, and I was mesmerized. I was mystified at how the paper twisted and folded into shape, while my seven-year-old fingers snitched another strip of paper from the pile and bent it back and forth in a simple accordion fold.
By the time I was 14, I was folding German star ornaments (also called Moravian Stars or Fröebel Stars) along with my mother and grandmother, making my own to hang on our tree.
German Star Ornament Video Tutorial
I’ve made a video to help you see how German Stars are made, step by step. It’s a great reference for visual learners. The written steps you can print are later in the post.
Not ready to make these Fröebel Star Ornaments yet?
Too busy to make these right now? No problem! Make sure you pin this post to your favorite Holiday Pinterest board so they’re ready when you are. Your shares are how this site grows, and I am genuinely appreciative when you do.
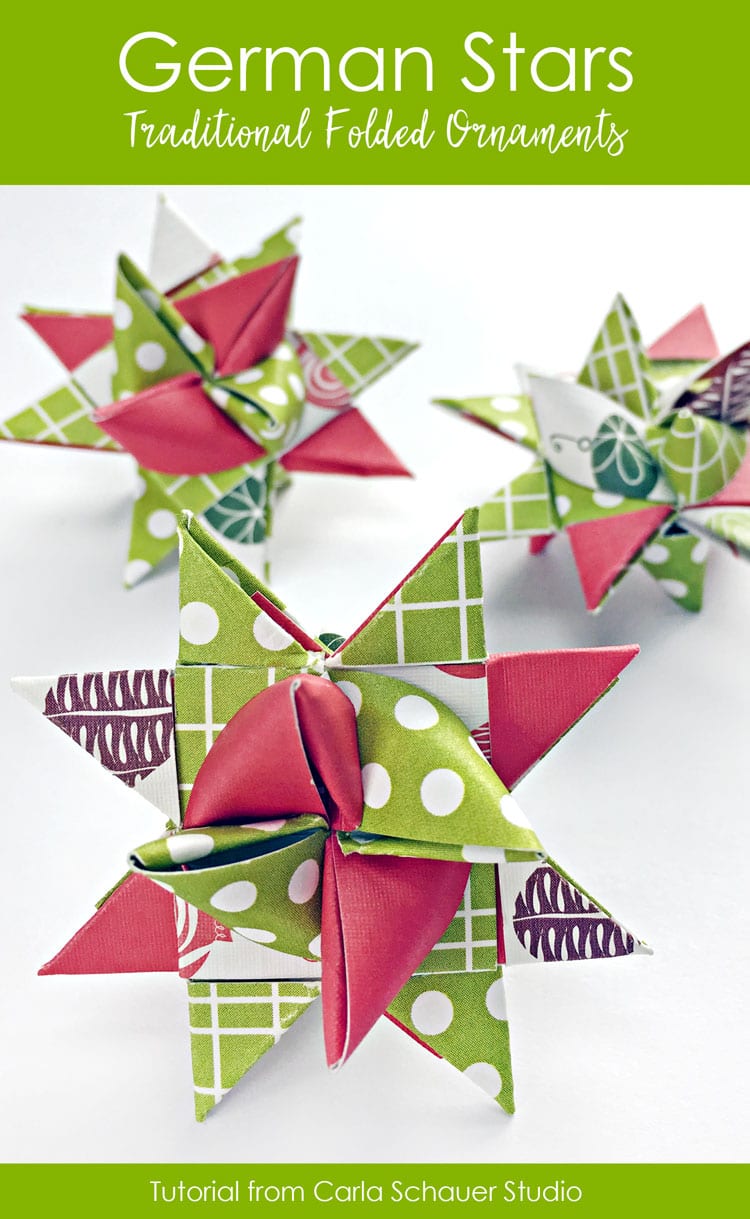
Once you get the hang of the folds, you can make a star in under 5 minutes. Make them in batches while watching your favorite show, or grab your teens and tweens and make some holiday memories.
This page may contain affiliate links. If you make a purchase through my link, I will earn a small commission at no extra cost to you.
History of Fröebel or German Stars
German Stars began as a school geometry lesson, and are now seen as Christmas decorations throughout the world. They can be made from paper, glass, or even modern plastic. Learn more about the history of Moravian Stars.
What Kind of Paper Should You Use to Make German Stars?
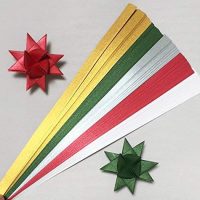
Despite looking complicated, the ornaments are made from 4 strips of paper and some easy repeated folds. You can use scrapbook paper like I did, or another double-sided paper, since you can see both sides after folding. I prefer thinner paper because it’s easier to maneuver and makes nice sharp points. If you don’t have paper on hand, you can get pre-cut paper strips and save yourself some time cutting.
If you’re going to cut your own paper, the strips will need to be at least a 1:24 ratio. They can be longer (will give you extra “tails” to work with), but not shorter or you won’t have enough paper to finish. To keep you from having to do the math, here’s a handy dandy chart to make it easy.
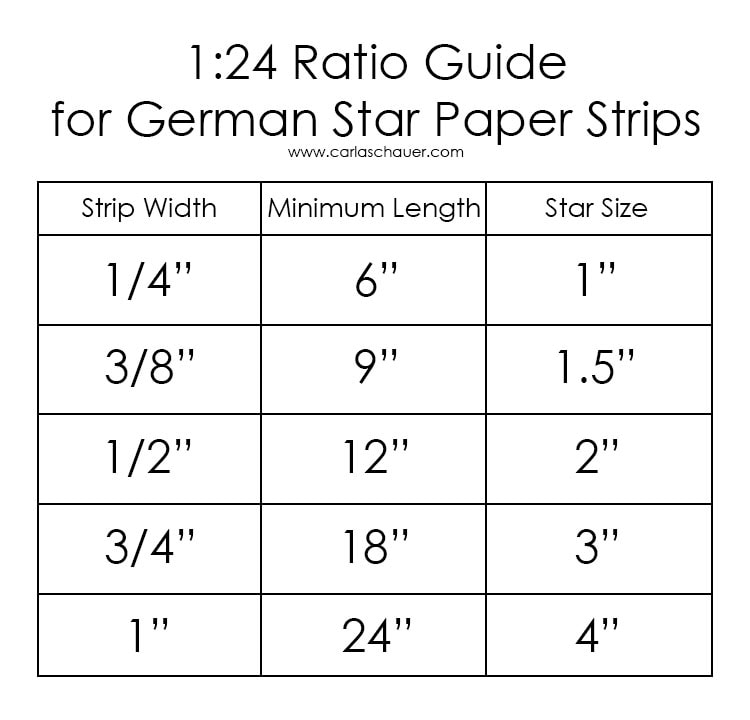
The size of your paper strips will determine the final size of your stars. Narrower strips will make smaller stars, wider strips will make larger stars.
Make German Stars With Bonus Glitter!
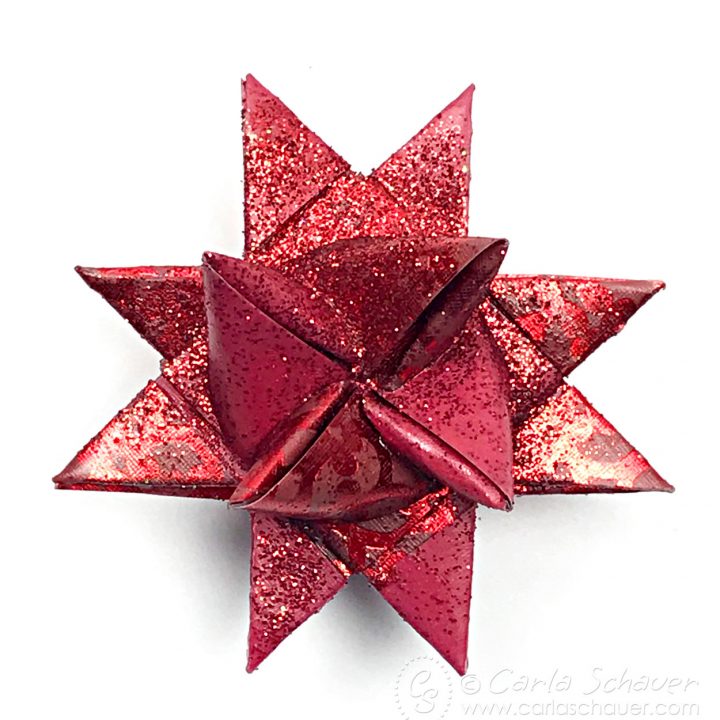
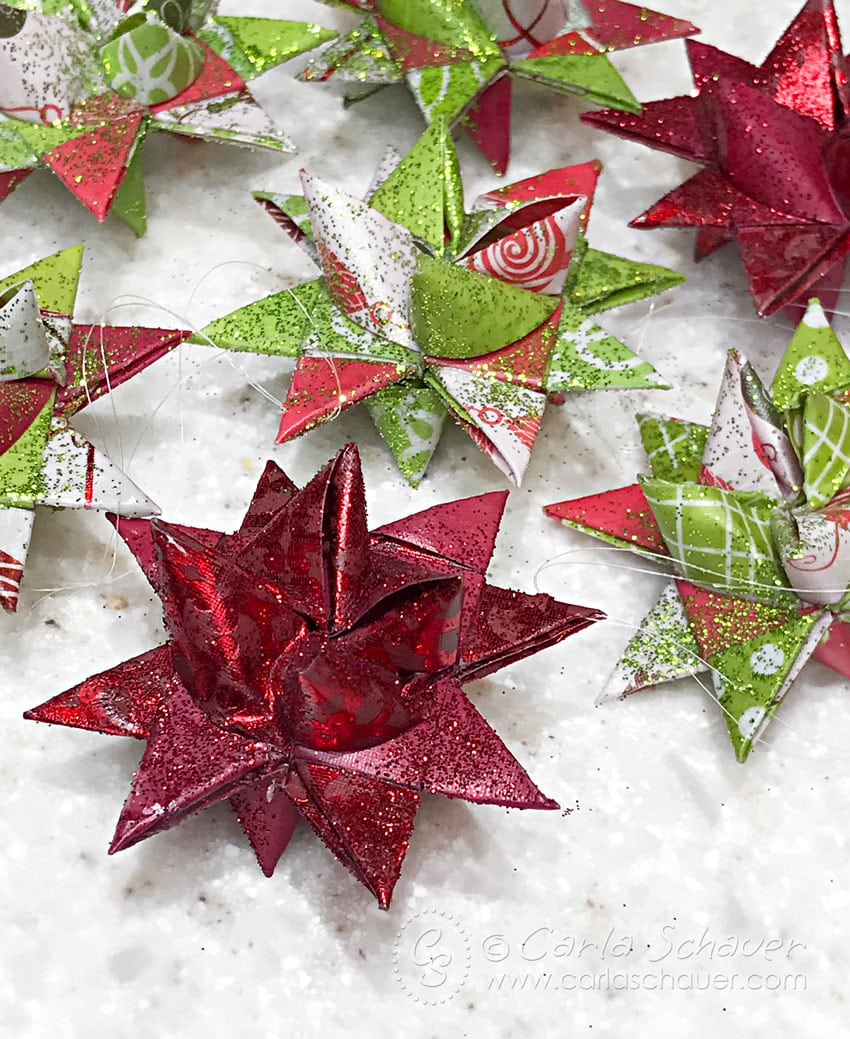
When you have finished making your batch of stars, you can hang them just as they are or add the “dip and sparkle” step (my 7-year-old-self’s favorite part!). Adding this wax dipping step was traditionally used to waterproof the folded star ornaments for decorating outdoors. Even if you don’t plan on hanging them outside, dipping your German stars in wax will help preserve the ornaments to reuse through the years.

Learn the folds using the step-by-step instructions below, and save to your favorites to find again later.
How to Make German Stars for Christmas
Traditional German Star (Froebel Star, Moravian Star) ornaments are made from 4 strips of paper, folded in a series of steps to make 16 points. They make beautiful holiday decorations hung on a tree or placed in a bowl.
Materials
- 4 double-sided paper strips of equal width ( 1/2" maximum for 12" scrapbook paper)
- Needle and thread (or thin twine and hole punch)
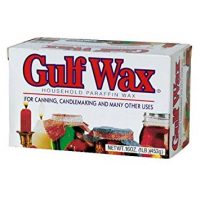
- Paraffin wax block (optional)
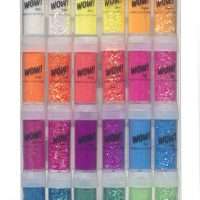
- Coordinating Fine Glitter (optional)
Tools
- Tweezers or Toothpick (optional)
- Scissors
Instructions
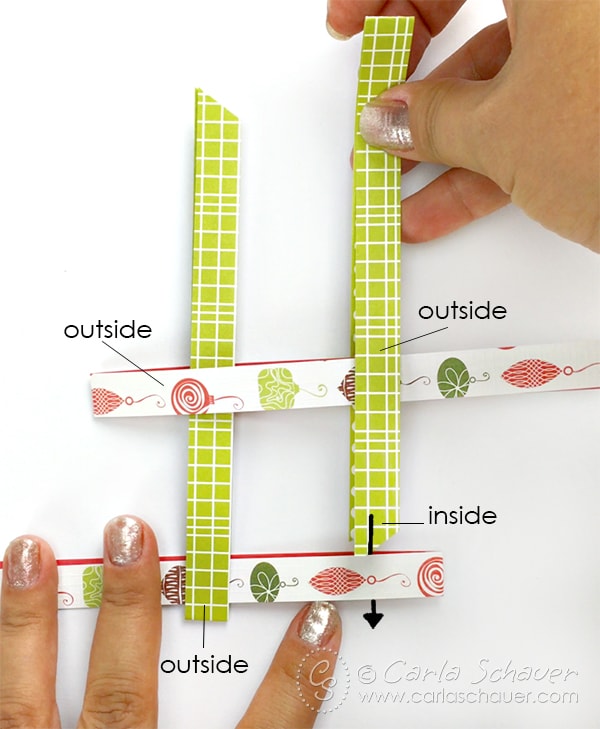
- In the first set of folds, weave the strips as shown below. Pull until snug, then fold top layer of strips to center as shown in video. Then flip over.

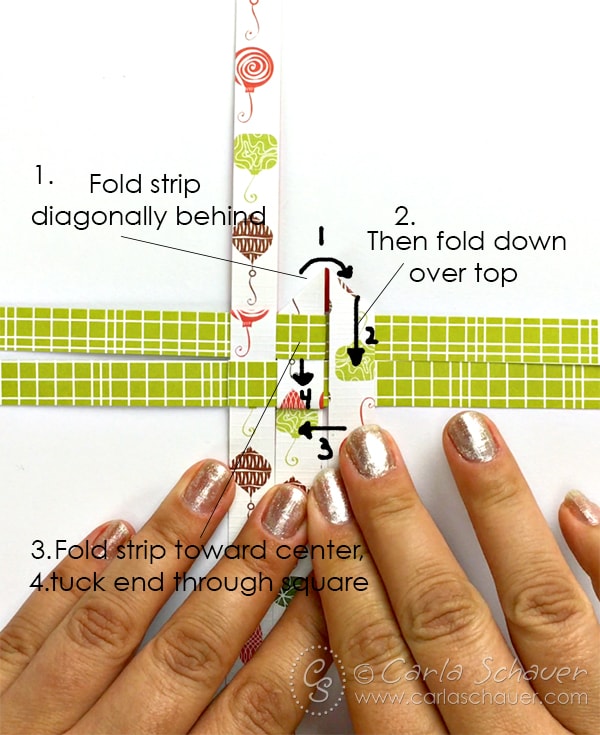
- The second fold type has three steps (behind, down, and toward middle), then the tail tucks through the basket weave from before. Then you turn the whole shebang clockwise, repeat the rest of the way around. Flip it over and repeat on the other side.

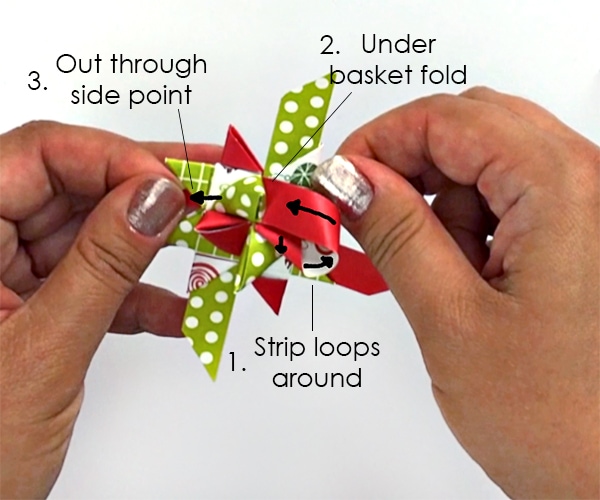
- The third fold type is the trickiest, since the end of the strip can get stuck in the side point. Tip: use a toothpick or tweezers if necessary to open the folds a little bit to let the paper strip slide through. Just like in the last type, you repeat your way clockwise around the circle, then flip and do the other side.

- After trimming the excess ends with scissors, use a needle and thread to add a loop for hanging through one of the side points of the star. Or for a more rustic look, use a small hole punch and thin twine.

- Optional: Wax dip and glitter star ornaments.

Notes
Once you've mastered these simple folds, you'll be making German stars in no time at all!
Recommended Products
As an Amazon Associate and member of other affiliate programs, I earn from qualifying purchases.
Pin these German Star Ornaments to make later:


View as a German Star Ornament Web Story

These are great! Thanks for joining!
Thanks Angie! I always have fun with Craft Lightning!
These are beautiful!
Thanks Carolina!
Loveeee it. Wished the video is in slow motion. You are so artistic & thanks for sharing. I’m doing to this for jan 6 6 holiday decor. Excellent.
I like the paper with the Christmas ornaments printed on them. Where can I purchase it?
This is GREAT! I made these in Girl Scouts years ago, but forgot how to make them. I’ve been looking for the instructions also for years. Thanks so-o-o-o-o very much girlfriend.
Oh, almost forgot. Our Scout Leader did the wax dipping. 😉
These bring back such wonderful memories of my great aunt who was the only grandmother I ever knew. 1950’s sometime sitting at her kitchen table we learned to fold these, wax and glitter them, I was about 7. I still have 1 of the originals, but taught a group of basket weavers these stars 10 years ago in a class. The paper made for these is hard to find but if you search long enough on Amazon, you can find these papers pre-cut. Have fun, I may have to make some more now!
So glad these brought back memories for you. The glittering was the best part!
Love these little ornaments! Easy to make. I wish there was a mention of using two sided scrapbook paper.
When I was five my mother made these from white freezer paper and we painted them. She dipped them in wax and we sprinkled them with glitter. We sold them around our neighborhood for a nickel. Now I use fabric and fusible back webbing before I cut the strips.
Freezer paper is a great way to get longer strips so you can make larger stars. I bet your fabric stars are beautiful!
Hi my name is Raina. I am 32 years old. When I was 15 I got into some trouble and ended up in a Residental treatment Center. I didnt know how to do anything. When Christmas came around that year Mrs.Crawford brought a bunch of crafts for us to do because she knew we missed our families and couldn’t be with them. So she went out of her way to buy us all snacks and we listened to Christmas music and made these stars. I loved it. Every year to this day I think of her and what an impact she had in my life. I couldn’t remember the width of the strips were so I decided to look aan see if google had any idea how to help ke and I came across this. Thank you so much. I can teach my daughter how to make these she is 10 and I know it will be a memory she will never for get just as it was for me. God bless and Happy Holidays.
These are beautiful and I would like to try making them but I wish the video wasn’t speeded up so fast. I would rather see a four-minute video at normal speed than this two-minute video. I’ll keep trying to watch and stop the video while trying to make these. Thank you.
My elementary school held a "santa shop" for kids to purchase presents for their parents/families. Most of the items were craft items made by women of the parish & older kids. My neighborhood was unique- in that it had immigrants/first generation families from all over, so the crafts were varied and amazing. My favorite was always these stars! I’m excited to try to make them with my sons this year.